Home
Parts List to Build a Telecaster
Guitar Workstation
Warmoth Telecaster Body
Warmoth Birdseye Maple Telecaster Neck
Gotoh Kluson Tuners
Installing String Ferrules
Installing the Fender Vintage 3-Saddle Bridge
Shielding the Pickup Cavities
Assembling the Switch and Pots to Control Plate
Wiring the Pickups, Input Jack, Switch and Pots
Wiring the Pickups
Installing Input Jack
Installing Pickguard
Dressing the Frets
Guitar Set-Up
Finished Guitar Pics
Overview of Complete Building Process
Resources and Links
Guitar Parts  Calculator
Website Details
Building a 1963 Lake Placid Telecaster - Installing the Strap Pegs
Click on each image below for a larger view.
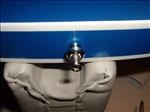
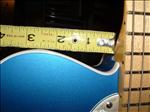
This was a straightforward process. Just be sure to measure twice and drill once. For the end strap peg I used a ruler to find the center line form the top of the body using the bridge as a guide. I marked both sides of the ruler on the white binding using a ball point pen (the ink rubs right off). Then I measured to determine the center of the width of the body and marked my spot with the pen. I used a small punch to gently start the hole for drilling.

For the front strap peg I cheated a bit and measured the strap peg location on my other Fender Telecaster - just to be sure. No reason not to use what you have available for information. Then it was simply a mtter of finding the center point of the width of the body; marking the location and punching and drilling the hole. I did cut and place a small piece of felt behind each strap peg (I noticed that on my other Tele and thought what the hell it can't hurt). Strap pegs installed!


Building a 1963 Lake Placid Telecaster - Home
100-Install-Strap-Pegs.JPG
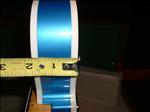
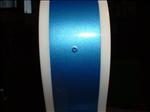
Using a ruler to determine the center point on the end of the guitar.

100-Install-Strap-Pegs.JPG
101-Install-Strap-Pegs.JPG
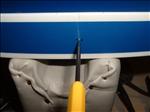
You can see the alignment marks on the white binding and the body.

101-Install-Strap-Pegs.JPG
102-Install-Strap-Pegs.JPG
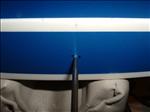
A close-up of using the punch to start the hole.

102-Install-Strap-Pegs.JPG
103-Install-Strap-Pegs.JPG
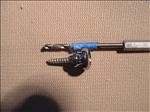
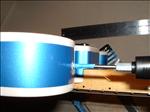
Setting the depth I needed to drill on the drill bit with tape.

103-Install-Strap-Pegs.JPG
104-Install-Strap-Pegs.JPG
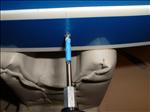
I did not want to drill the hole too deep.

104-Install-Strap-Pegs.JPG
105-Install-Strap-Pegs.JPG
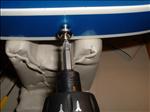
I started the screw by hand - just to get it set.

105-Install-Strap-Pegs.JPG
106-Install-Strap-Pegs.JPG
I used a cordles screwdriver set at a low torque setting.

106-Install-Strap-Pegs.JPG
107-Install-Strap-Pegs.JPG
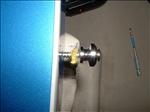
The strap peg installed.

107-Install-Strap-Pegs.JPG
108-Install-Strap-Pegs.JPG
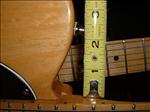
To find the location of the front strap peg I again measured the width of the guitar body.

108-Install-Strap-Pegs.JPG
109-Install-Strap-Pegs.JPG
Then I measured the distance from the neck to where the strap peg should be located.

109-Install-Strap-Pegs.JPG
110-Install-Strap-Pegs.JPG
To verify the location I cheated a bit and used antoher Fender Telecaster as my guide.

110-Install-Strap-Pegs.JPG
111-Install-Strap-Pegs.JPG
Checking the center point on the width of the body.

111-Install-Strap-Pegs.JPG
112-Install-Strap-Pegs.JPG
Using the punch to start the hole for the screw.

112-Install-Strap-Pegs.JPG
113-Install-Strap-Pegs.JPG
The hole created by the punch.

113-Install-Strap-Pegs.JPG
114-Install-Strap-Pegs.JPG
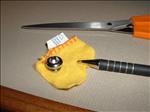
Cutting a small piece of felt to put behind the strap peg.

114-Install-Strap-Pegs.JPG
115-Install-Strap-Pegs.JPG
Setting the drill bit in the starting hole.

115-Install-Strap-Pegs.JPG
116-Install-Strap-Pegs.JPG
I again hand started the screw.

116-Install-Strap-Pegs.JPG
117-Install-Strap-Pegs.JPG
The front strap peg installed.

117-Install-Strap-Pegs.JPG
118-Install-Strap-Pegs.JPG
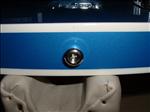
A close-up straight on view shows the head of the screw set into the strap peg.

118-Install-Strap-Pegs.JPG


All Photos (unless otherwise noted) Copyright © 2006, HiggyDude and Bobby Jean Enterprises
Website - Copyright © 2006, HiggyDude and Bobby Jean Enterprises