Home
Parts List to Build a Telecaster
Guitar Workstation
Warmoth Telecaster Body
Warmoth Birdseye Maple Telecaster Neck
Gotoh Kluson Tuners
Installing String Ferrules
Installing the Fender Vintage 3-Saddle Bridge
Shielding the Pickup Cavities
Assembling the Switch and Pots to Control Plate
Wiring the Pickups, Input Jack, Switch and Pots
Wiring the Pickups
Installing Input Jack
Dressing the Frets
Installing the Strap Pegs
Guitar Set-Up
Finished Guitar Pics
Overview of Complete Building Process
Resources and Links
Guitar Parts  Calculator
Website Details
Building a Vintage 1963 Telecaster - Installing the Pickguard and Rhythm Pickup
Click on each image below for a larger view.
Mounting the neck pickup to the pickguard is fairly straightforward - slide the two screws that came with the pickup through the holes in the pickguard, slide on the rubber spacers and then attach the pickup. Height adjustments are made during the set-up process.

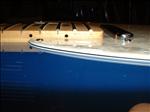
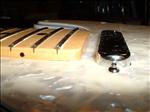
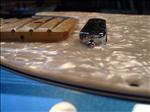
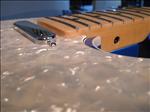
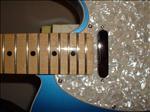
Installing the pickguard itself was a little more difficult. I have swapped out other pickguards and never experienced one where the gap between the lip of the neck and the body was to tight to slide the pickguard in to - this one was. The pickguard probably would have fit if it did not have the neck pickup attached - but there was no way to slide the pickguard under the neck lip then attach the neck pickup. I had to remove the neck from the guitar. I then placed the pickguard on the guitar body and aligned it by eye and against the edges of the control plate and the bridge. I aligned it so the amount of body exposed appeared consistent around the whole pickguard. I then used my cordless screwdriver to drill holes for the pickguard screws.

I removed the pickguard to remove any debris from the drilling. I "tapped" down the edges on each hole caused by the drilling then began attaching the pickguard. I used the cordless screwdriver at a very low clutch setting to drive the screws almost completely in. I then tightened all screws by hand. I did find some areas where, although it felt like the screw was all the way in and the pickguard flat, it was not - there was still a gap. A couple of minutes of such review and screw tightening and then it was time to re-attach the neck.


Building a 1963 Lake Placid Telecaster - Home
100-Install-Pickguard.JPG
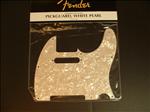
Fender White Pearloid Pickguard for Telecaster.

100-Install-Pickguard.JPG
101-Install-Pickguard.JPG
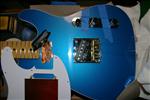
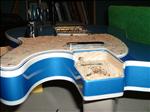
The body after testing the pickups.

101-Install-Pickguard.JPG
102-Install-Pickguard.JPG
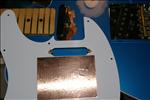
The underside of the pickguard.

102-Install-Pickguard.JPG
103-Install-Pickguard.JPG
Aligning the pickguard and then drilling the screw holes

103-Install-Pickguard.JPG
104-Install-Pickguard.JPG
A close-up of the drilled screw holes.

104-Install-Pickguard.JPG
105-Install-Pickguard.JPG
The raised edges of the screw holes from the finish.

105-Install-Pickguard.JPG
106-Install-Pickguard.JPG
A close-up of the raised edges of the pickguard screw holes.

106-Install-Pickguard.JPG
107-Install-Pickguard.JPG
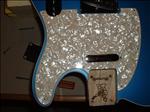
The pickguard with the rhythm pickup installed. A very easy step.

107-Install-Pickguard.JPG
108-Install-Pickguard.JPG
The rhythm pickup installed.

108-Install-Pickguard.JPG
109-Install-Pickguard.JPG
Another view of the installed rhythm pickup.

109-Install-Pickguard.JPG
110-Install-Pickguard.JPG
Driving the pickguard screws.

110-Install-Pickguard.JPG
111-Install-Pickguard.JPG
Setting the screws with the cordless screwdriver.

111-Install-Pickguard.JPG
112-Install-Pickguard.JPG
All of the pickguard screws set.

112-Install-Pickguard.JPG
113-Install-Pickguard.JPG
A close-up of the raised pickguard screws.

113-Install-Pickguard.JPG
114-Install-Pickguard.JPG
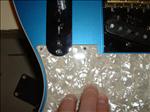
Hand tightening all the screws on the pickguard.

114-Install-Pickguard.JPG
115-Install-Pickguard.JPG
Inspecting the pickguard screws.

115-Install-Pickguard.JPG
116-Install-Pickguard.JPG
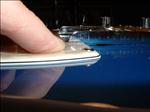
A closer view of the gap.

116-Install-Pickguard.JPG
117-Install-Pickguard.JPG
Testing if there is till any gap between the pickguard and the body.

117-Install-Pickguard.JPG
118-Install-Pickguard.JPG
All of the pickguard screws have been hand tightened.

118-Install-Pickguard.JPG
119-Install-Pickguard.JPG
Time to reattach the neck.

119-Install-Pickguard.JPG
120-Install-Pickguard.JPG
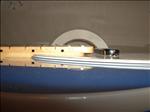
Another view of the neck lip and pickguard gap - getting smaller as I tighten the neck.

120-Install-Pickguard.JPG
121-Install-Pickguard.JPG
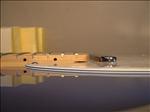
The neck completely tightened - notice no gap.

121-Install-Pickguard.JPG
122-Install-Pickguard.JPG
A close-up view of the very tight fit between the pickguard and the neck.

122-Install-Pickguard.JPG
123-Install-Pickguard.JPG
Another look at the neck and body/pickguard fit.

123-Install-Pickguard.JPG
124-Install-Pickguard.JPG
A view of the neck/pickguard/body fit form the other side of the neck.

124-Install-Pickguard.JPG
125-Install-Pickguard.JPG
The pickguard installation is finished.

125-Install-Pickguard.JPG


All Photos (unless otherwise noted) Copyright © 2006, HiggyDude and Bobby Jean Enterprises
Website - Copyright © 2006, HiggyDude and Bobby Jean Enterprises