Home
Parts List to Build a Telecaster
Guitar Workstation
Warmoth Telecaster Body
Warmoth Birdseye Maple Telecaster Neck
Gotoh Kluson Tuners
Installing String Ferrules
Installing the Fender Vintage 3-Saddle Bridge
Shielding the Pickup Cavities
Assembling the Switch and Pots to Control Plate
Wiring the Pickups, Input Jack, Switch and Pots
Wiring the Pickups
Installing Input Jack
Installing Pickguard
Dressing the Frets
Installing the Strap Pegs
Guitar Set-Up
Finished Guitar Pics
Overview of Complete Building Process
Resources and Links
Guitar Parts  Calculator
Website Details
Building a Vintage 1963 Lake Placid Blue Telecaster - Attaching the String Ferrules
Click on each image below for a larger view.
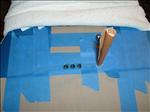
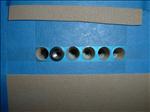
This was another seemingly simple process but one that took some time. Again the finish had been applied to the string ferrule holes making them too small for the string ferrules. Some protective taping and some sanding, using both rolled sandpaper and a round file, fixed the hole size.

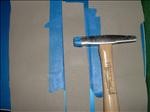
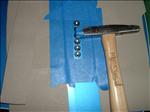
I used a small craft hammer and some scrap rubber matting from the workstation to gently tap the ferrules into the holes. They did not need to be super snug or pounded in but they should fit snugly so as to not fall out when there are no strings on the guitar.


Building a 1963 Lake Placid Telecaster - Home
100-String-Ferrules.JPG
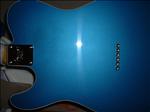
String holes on the back of the body.

100-String-Ferrules.JPG
101-String-Ferrules.JPG
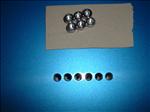
The string ferrules.

101-String-Ferrules.JPG
102-String-Ferrules.JPG
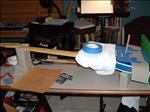
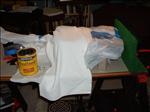
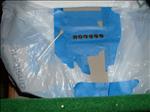
The guitar in the workstation.

102-String-Ferrules.JPG
103-String-Ferrules.JPG
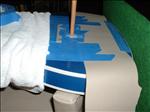
Side view of the rolled up sandpaper used to sand off the finish in the holes

103-String-Ferrules.JPG
104-String-Ferrules.JPG
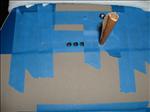
Top view of the hole sanding.

104-String-Ferrules.JPG
105-String-Ferrules.JPG
Being cautious…more tape…

105-String-Ferrules.JPG
106-String-Ferrules.JPG
Test fitting the string ferrules.

106-String-Ferrules.JPG
107-String-Ferrules.JPG
Protecting the bare wood.

107-String-Ferrules.JPG
108-String-Ferrules.JPG
Using a Q-tip on the body - they worked wonders for this application.

108-String-Ferrules.JPG
109-String-Ferrules.JPG
The string holes after applying the finish.

109-String-Ferrules.JPG
110-String-Ferrules.JPG
My craft hammer and another scrap strip of rubber matting.

110-String-Ferrules.JPG
111-String-Ferrules.JPG
The string ferules in place.

111-String-Ferrules.JPG
112-String-Ferrules.JPG
The string ferrules installed.

112-String-Ferrules.JPG
113-String-Ferrules.JPG
The string ferrules installed.

113-String-Ferrules.JPG


All Photos (unless otherwise noted) Copyright © 2006, HiggyDude and Bobby Jean Enterprises
Website - Copyright © 2006, HiggyDude and Bobby Jean Enterprises