Home
Parts List to Build a Telecaster
Guitar Workstation
Warmoth Telecaster Body
Warmoth Birdseye Maple Telecaster Neck
Gotoh Kluson Tuners
Installing String Ferrules
Installing the Fender Vintage 3-Saddle Bridge
Shielding the Pickup Cavities
Assembling the Switch and Pots to Control Plate
Wiring the Pickups, Input Jack, Switch and Pots
Wiring the Pickups
Installing Input Jack
Installing Pickguard
Dressing the Frets
Installing the Strap Pegs
Guitar Set-Up
Finished Guitar Pics
Overview of Complete Building Process
Resources and Links
Guitar Parts  Calculator
Website Details
Building a 1963 Lake Placid Telecaster - Installing the Tuners
Click on each image below for a larger view.
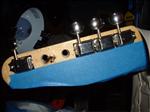
This was probably the longest and most frustrating part about this endeavor. When I first tried to insert the tuner bushings and found the holes in the headstock were not even close to the right size I called Warmoth and kindly asked if I had purchased the right tuners. They said yes and noted that "you may have to sand each hole a little bit and then you should be able to seat the tuner bushings by hand." Was I in for a surprise? Now I know this is my first time doing this and I was probably over cautious with all the taping but this task took days to complete.

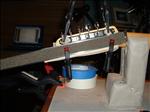
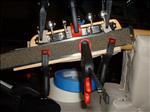
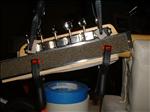
I tested my sense of ingenuity in finding ways to clamp and align the tuners. I also was on the extreme end of frustration when, after properly drilling screw holes for the tuner machine mounting screws, I had not one but two screws break off at the head. Mind you I was extra careful knowing that the neck is maple and it is a hardwood and the length of the screws is nearly the width of the headstock. So I carefully marked a drill bit for depth and drilled my holes. I used soap to lubricate each screw. I started each screw by hand; et the torque on my cordless screwdriver to about one-third; drove the screws approximately two-thirds of the way in with the cordless screwdriver and attempted to finish them by hand. I though it was prudent to hand tighten the screws to prevent damaging the screw heads or slipping with the cordless drill only to have two screws just snap off at the head while hand tightening them.

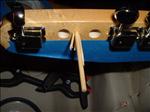
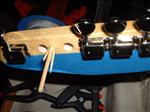
Now I had to drill out the screws. A screw extractor wouldn't work because there was no head left on the screw. I didn't own a drill press - I was screwed. Well a lot of patience allowed me to drill out enough of each screw and fill the void with wooden dowels and toothpicks and glue. The tuners would cover the repaired holes.

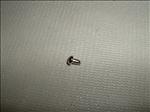
But now I had another problem- try to find two nickel plated screws that match the size of the ones that came with the tuners. I found screws available at Guitar Parts Resource - an online guitar parts dealer. The irony here is that the shipping cost was $5.95 and the cost of the 16 screws was $2.99!


Building a 1963 Lake Placid Telecaster - Home
100-Kluson-Tuners.JPG
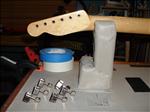
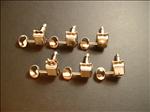
Six Gotoh Vintage Kluson Tuners for Telecaster.

100-Kluson-Tuners.JPG
101-Kluson-Tuners.JPG
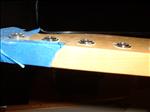
The finish on the neck and headstock made the holes for the tuner bushings too small.

101-Kluson-Tuners.JPG
102-Kluson-Tuners.JPG
You can see the neck resting in the neck holder on the guitar workstation.

102-Kluson-Tuners.JPG
103-Kluson-Tuners.JPG
Top view of headstock.

103-Kluson-Tuners.JPG
104-Kluson-Tuners.JPG
The sanding continues…

104-Kluson-Tuners.JPG
105-Kluson-Tuners.JPG
More angles of the sanding process.

105-Kluson-Tuners.JPG
106-Kluson-Tuners.JPG
More angles of the sanding process.

106-Kluson-Tuners.JPG
107-Kluson-Tuners.JPG
More angles of the sanding process.

107-Kluson-Tuners.JPG
108-Kluson-Tuners.JPG
More angles of the sanding process.

108-Kluson-Tuners.JPG
109-Kluson-Tuners.JPG
Test fitting a tuner bushing.

109-Kluson-Tuners.JPG
110-Kluson-Tuners.JPG
Test fitting a tuner bushing.

110-Kluson-Tuners.JPG
111-Kluson-Tuners.JPG
Using a hand clamp to gently "coax" the bushing into place with the clamp.

111-Kluson-Tuners.JPG
112-Kluson-Tuners.JPG
After using the clamp ever so slightly I realized I needed to sand the opening wider.

112-Kluson-Tuners.JPG
113-Kluson-Tuners.JPG
Using the clamp again.

113-Kluson-Tuners.JPG
114-Kluson-Tuners.JPG
Another view of the clamp.

114-Kluson-Tuners.JPG
115-Kluson-Tuners.JPG
The first tuner bushing installed - 5 to go.

115-Kluson-Tuners.JPG
116-Kluson-Tuners.JPG
The last bushing yet to be seated completely.

116-Kluson-Tuners.JPG
117-Kluson-Tuners.JPG
Another view of the last bushing before final seating.

117-Kluson-Tuners.JPG
118-Kluson-Tuners.JPG
The 6 tuner bushings installed.

118-Kluson-Tuners.JPG
119-Kluson-Tuners.JPG
The 6 tuner bushings installed.

119-Kluson-Tuners.JPG
120-Kluson-Tuners.JPG
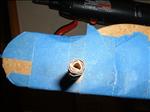
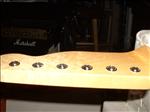
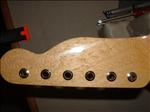
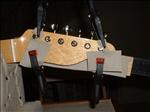
The back of the headstock with the 6 tuner bushings installed.

120-Kluson-Tuners.JPG
121-Kluson-Tuners.JPG
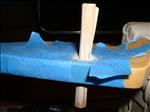
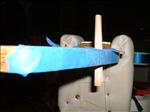
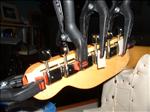
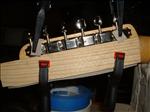
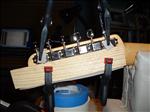
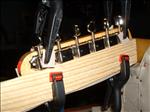
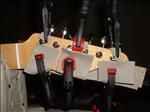
I had to devise a way to orient all of the tuning machines in a straight line.

121-Kluson-Tuners.JPG
122-Kluson-Tuners.JPG
Next I tried to use a wood shim as a guide…

122-Kluson-Tuners.JPG
123-Kluson-Tuners.JPG
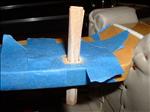
Trying to make the wood shim guide work…

123-Kluson-Tuners.JPG
124-Kluson-Tuners.JPG
Trying to make the wood shim guide work…

124-Kluson-Tuners.JPG
125-Kluson-Tuners.JPG
One of my eureka moments…

125-Kluson-Tuners.JPG
126-Kluson-Tuners.JPG
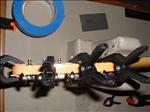
Clamping the metal ruler and the wooden shim.

126-Kluson-Tuners.JPG
127-Kluson-Tuners.JPG
Another view of clamping the ruler and shim.

127-Kluson-Tuners.JPG
128-Kluson-Tuners.JPG
The front of the headstock.

128-Kluson-Tuners.JPG
129-Kluson-Tuners.JPG
The final clamping positions to hold and align the tuning machines.

129-Kluson-Tuners.JPG
130-Kluson-Tuners.JPG
A top view of the clamps - looks like surgery…

130-Kluson-Tuners.JPG
131-Kluson-Tuners.JPG
Here is where I had some fun…

131-Kluson-Tuners.JPG
132-Kluson-Tuners.JPG
My repair efforts.

132-Kluson-Tuners.JPG
133-Kluson-Tuners.JPG
Some dowels, wooden toothpicks and wood glue fixed the holes.

133-Kluson-Tuners.JPG
134-Kluson-Tuners.JPG
I was fortunate that the tuners covered the two holes.

134-Kluson-Tuners.JPG
135-Kluson-Tuners.JPG
I finally found the screws at Guitar Parts Resources.

135-Kluson-Tuners.JPG
136-Kluson-Tuners.JPG
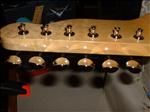
The tuners installed…but look closer…

136-Kluson-Tuners.JPG
137-Kluson-Tuners.JPG
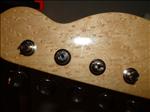
Try to see the hole fix in this close-up…best I could do.

137-Kluson-Tuners.JPG
138-Kluson-Tuners.JPG
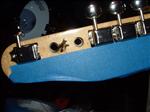
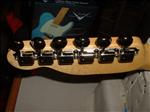
Back of the headstock - tuners installed.

138-Kluson-Tuners.JPG
139-Kluson-Tuners.JPG
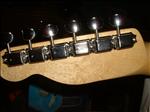
Another back of the head stock shot.

139-Kluson-Tuners.JPG
140-Kluson-Tuners.JPG
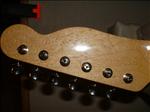
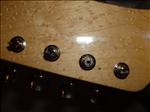
Tuners installed - close-up of headstock front.

140-Kluson-Tuners.JPG
141-Kluson-Tuners.JPG
Finally - all 6 tuners installed…and all holes repaired.

141-Kluson-Tuners.JPG


All Photos (unless otherwise noted) Copyright © 2006, HiggyDude and Bobby Jean Enterprises
Website - Copyright © 2006, HiggyDude and Bobby Jean Enterprises