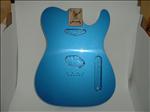
Warmoth Lake Placid Blue Telecaster Body with white binding.
100-Building-Telecaster-Overview.JPG
|
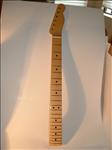
Warmoth Telecaster neck.
101-Building-Telecaster-Overview.JPG
|
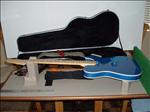
The body and neck sitting in my home built workstation.
102-Building-Telecaster-Overview.JPG
|
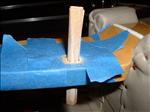
Widening the tuner holes.
103-Building-Telecaster-Overview.JPG
|
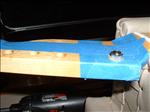
Hand setting the first tuner bushing.
104-Building-Telecaster-Overview.JPG
|
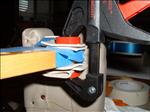
Seating the tuner bushing.
105-Building-Telecaster-Overview.JPG
|
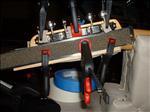
Aligning the tuners for attachment to the headstock.
106-Building-Telecaster-Overview.JPG
|
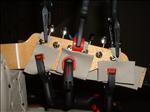
Protecting the neck finish.
107-Building-Telecaster-Overview.JPG
|
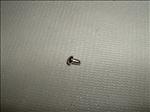
The first of the two screws that broke while attaching the tuning heads.
108-Building-Telecaster-Overview.JPG
|
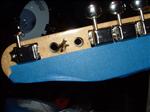
My repair for the hole made by having to drill out the broken screw.
109-Building-Telecaster-Overview.JPG
|
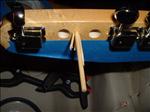
A top view of the repair before trimming the wood fillers.
110-Building-Telecaster-Overview.JPG
|
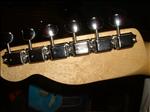
The tuners finally installed.
111-Building-Telecaster-Overview.JPG
|
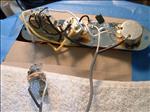
Wiring the pots, switch and pickup jack.
112-Building-Telecaster-Overview.JPG
|
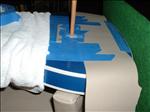
Prepping the string ferrule holes.
113-Building-Telecaster-Overview.JPG
|
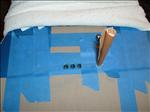
Prepping the string ferrule holes.
114-Building-Telecaster-Overview.JPG
|
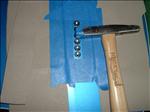
Seating the string ferrules.
115-Building-Telecaster-Overview.JPG
|
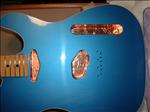
Shielding the pickup and switch cavities.
116-Building-Telecaster-Overview.JPG
|
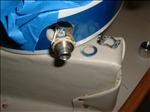
Installing the input jack.
117-Building-Telecaster-Overview.JPG
|
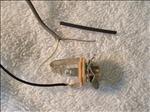
Close up of the wire ends and the input jack.
118-Building-Telecaster-Overview.JPG
|
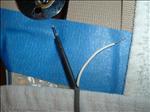
Wire tips tinned.
119-Building-Telecaster-Overview.JPG
|
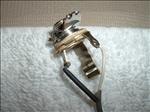
The wired input jack.
120-Building-Telecaster-Overview.JPG
|
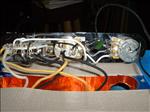
The 4-way switch and volume and tone pots attached to the control plate and wired to the pickups.
121-Building-Telecaster-Overview.JPG
|
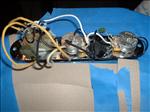
Another view of the wiring.
122-Building-Telecaster-Overview.JPG
|
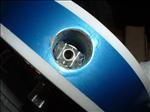
The input jack in the input jack recess in the body.
123-Building-Telecaster-Overview.JPG
|
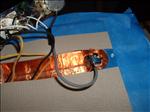
Inserting the input jack into the body.
124-Building-Telecaster-Overview.JPG
|
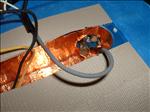
Inserting the input jack into the body - part 2.
125-Building-Telecaster-Overview.JPG
|
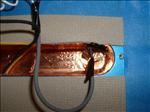
Inserting the input jack into the body - part 3.
126-Building-Telecaster-Overview.JPG
|
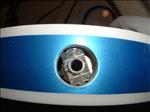
The input jack - test fit.
127-Building-Telecaster-Overview.JPG
|
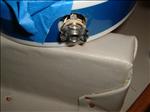
The input jack outside of the body.
128-Building-Telecaster-Overview.JPG
|
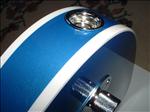
The cover and cover nut on the input jack.
129-Building-Telecaster-Overview.JPG
|
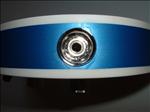
Another view of the input jack installed.
130-Building-Telecaster-Overview.JPG
|
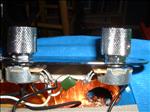
The knobs for the volume and tone pots.
131-Building-Telecaster-Overview.JPG
|
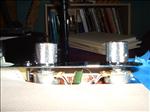
The reset tone and volume knobs.
132-Building-Telecaster-Overview.JPG
|
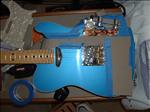
The "two string" test.
133-Building-Telecaster-Overview.JPG
|
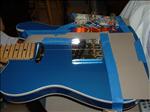
Another view of the "two string" test.
134-Building-Telecaster-Overview.JPG
|
