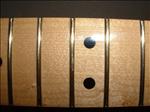
Close-up of the 12th fret area.
100-Fret-Dressing.JPG |
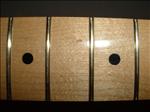
Close-up of the lower frets.
101-Fret-Dressing.JPG |
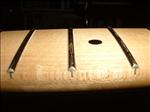
A side view of the scratched finish on the frets.
102-Fret-Dressing.JPG |
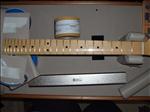
The whole neck before the fret dressing / finish cleanup.
103-Fret-Dressing.JPG |
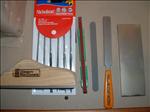
Nicholson files and Fret-Dressing tools from Stew-Mac.
104-Fret-Dressing.JPG |
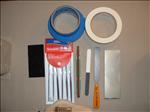
Fret Dressing - Tools. Masking and painters tape; various files
105-Fret-Dressing.JPG |
The large aluminum straight / flat edge from Stew Mac.
106-Fret-Dressing.JPG |
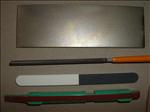
Various files - all of fine grit used for light touch and/or finishing work.
107-Fret-Dressing.JPG |
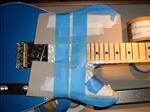
Protecting the guitar body.
108-Fret-Dressing.JPG |
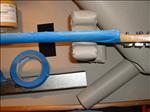
Taping the neck.
109-Fret-Dressing.JPG |
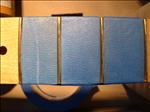
Taping the fingerboard.
110-Fret-Dressing.JPG |
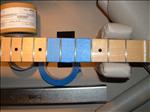
I used the more expensive 3M Special Painters tape supposedly for delicate finishes…you'll see in later images I was wrong!
111-Fret-Dressing.JPG |
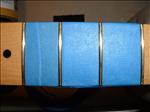
Taping the neck continues…
112-Fret-Dressing.JPG |
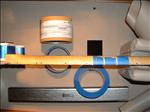
Taping the neck continues…
113-Fret-Dressing.JPG |
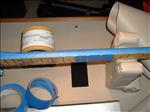
Taping the neck continues…
114-Fret-Dressing.JPG |
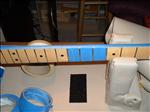
Taping the headstock.
115-Fret-Dressing.JPG |
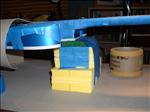
Supporitng the guitar body.
116-Fret-Dressing.JPG |
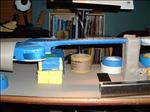
Supporitng the guitar body.
117-Fret-Dressing.JPG |
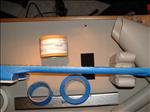
Taping the neck continues…
118-Fret-Dressing.JPG |
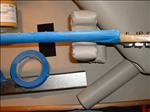
Taping the neck continues…
119-Fret-Dressing.JPG |
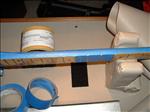
Taping the neck continues…
120-Fret-Dressing.JPG |
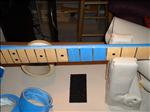
Taping the neck continues…
121-Fret-Dressing.JPG |
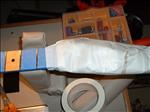
The head stock and frets taped.
122-Fret-Dressing.JPG |
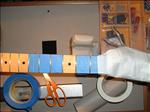
Top view of headstock and frets taped off.
123-Fret-Dressing.JPG |
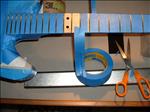
The neck almost completely taped.
124-Fret-Dressing.JPG |
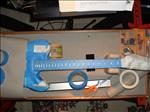
The taping complete.
125-Fret-Dressing.JPG |
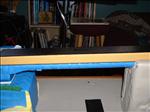
The first snadings using the aluminum beam with the 320 grit sandpaper.
126-Fret-Dressing.JPG |
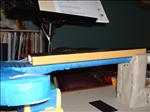
I only wanted to remove the finish material and take the frets down ever so slightly.
127-Fret-Dressing.JPG |
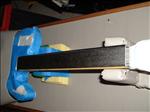
From this angle you can see the aluminum bar covers almost the entire length of the neck.
128-Fret-Dressing.JPG |
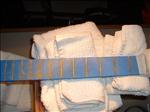
The frets after a few strokes of the aluminum beam with the 320 grit sandpaper.
129-Fret-Dressing.JPG |
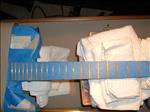
The rest of the frets after first sanding. Notice all the finish chips and dust.
130-Fret-Dressing.JPG |
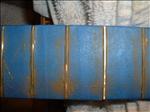
Close-up of the frets after first sanding. Here you can clearly see the finish chips.
131-Fret-Dressing.JPG |
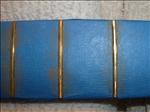
Another close-up of the sanded frets.
132-Fret-Dressing.JPG |
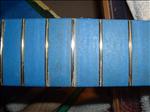
The edges of the finish still on the frets.
133-Fret-Dressing.JPG |
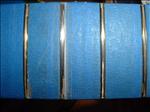
Time for Plan - B…
134-Fret-Dressing.JPG |
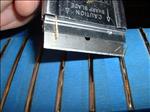
Plan - B.
135-Fret-Dressing.JPG |
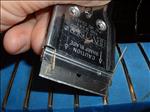
There's got to be a better way?
136-Fret-Dressing.JPG |
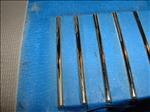
The finish on the frets at the last frets.
137-Fret-Dressing.JPG |
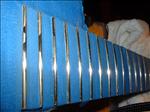
I'm getting there..
138-Fret-Dressing.JPG |
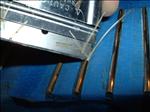
Another close-up of me and the razor scraper…
139-Fret-Dressing.JPG |
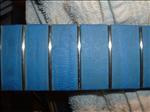
The frets with the scraping done.
140-Fret-Dressing.JPG |
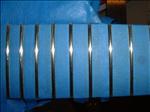
The upper frets with the scraping done.
141-Fret-Dressing.JPG |
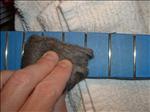
Sanding with 0000 steel wool.
142-Fret-Dressing.JPG |
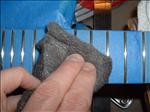
More steel wool sanding…
143-Fret-Dressing.JPG |
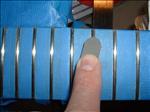
Some frets still had a few sanding marks.
144-Fret-Dressing.JPG |
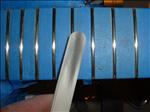
You can see how much dust came off the fret after only a few strokes with the file.
145-Fret-Dressing.JPG |
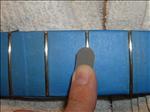
Some final sanding of a few frets…
146-Fret-Dressing.JPG |
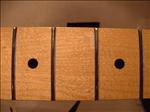
The shiny frets…but..
147-Fret-Dressing.JPG |
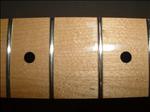
You can see the area where the finish came off. (you'll need to view the large or high-res pictures to see it)
148-Fret-Dressing.JPG |
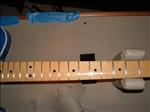
Then neck with the finished fret work.
149-Fret-Dressing.JPG |
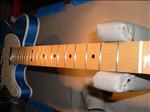
Angled view of the shiny frets.
150-Fret-Dressing.JPG |
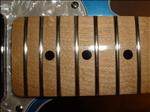
Close-up of the sanded, crowned and finished frets near the body.
151-Fret-Dressing.JPG |
